Saturday, August 22, 2020

China Cabinet turned Bookshelf

 In earlier posts you will see where I purchased an old china cabinet and severed it into two parts. I turned the bottom portion into my garden shed storage and today, I turned the top china portion into a bookshelf for the guest room!

Here is the Before:


There was no bottom because this piece was on top of the china hutch and the bottom is actually the table top now of the garden shed. So I had to create a bottom. I also had to create a top because there was not a solid foundation for a table top here. So I bought two sanded plywood boards from Home Depot and my husband cut them to flush perfectly with the top and bottom of this piece.

Then, I stained the new pieces to match the existing wood and I touched up some of the scratches in the wood. The parts I did not stain, I painted with Olive color Annie Sloan chalk paint. I also painted this inner back board as it was a weird green and I wanted everything to match.


The entire project just took us one afternoon. Now to fill it with books! 

Friday, August 21, 2020

Make Believe Play Stand


We are preparing for such an exciting 3K year here at the Gladden household, and what does that look like? For us, Homeschool Preschool means playing and reading, singing, dancing, and make-believing! No sitting at a desk or doing paper work or worksheets. Children are meant to move and they learn through movement and expolration BEST! Soooooo....we made the super affordable, super adorable, super easy to do...Make Believe Play Stand for many exciting days of play!

This will stand as a lemonade and baked goods stand, pet adopt shop, flower shop, post office, bank, pharmacy, car wash, grocery store, and so much more! We can decorate it accordingly as well. We will add a chalkboard to say whatever it is we are pretending to do or be that day. 

Want to make one? Here's how!

Materials:

- 3 FREE wooden pallets (a lot of companies give these away for free; just ask!)
- 2 4x4 posts
- 1 2x8 board
- 3 in. galvanized nails
- 3M Pro Grade Precision 9in by 11in 80 grit coarse advanced sanding sheets

Tools:

- Drill
- Circular Saw
- Jigsaw
- Hack saw
- Hand sander
- Hammer
- Speed Square

Other Supplies:

- Wood stain or paint color of choice

First and foremost - SUPER DUPER glad to have a handy hubby because while I find this project pretty simple, it was made much more simple by my husband stepping in without my asking to take over and spare me much labor (though I do love working with tools and always have!) But, it is always better to work as a team when you can. He is such a blessing. Well, even little Ellie wanted to help so it was a family affair! 


The first thing to do is cut the pallets to desired size. I didn't need to measure anything here - I just eyeballed the height I wanted for Ellie then sawed at that desired height straight across the front facing pallet. Then, with the two side pallets, I cut them to the same height, then in half so they were not as long as the front. I didn't want the stand to be too deep. Also, for the side pallets, I wanted them thinner, no need for the middle and bottom base of the pallets for the sides. So, my husband used the hack saw to slim them down and cut through the nails and wood. Then we used the hand sander to make them nice and smooth! No splinters here!

Then, together, we used the drill to prepare for nailing in the 3 inch nails. Drill, nail, hammer. Repeat until the base of the stand is together. The base being all three pallet pieces.


Next, we put our 4x4 posts in the inner corners of the stand after cutting them down to my desired height....which again I eyeballed, telling my husband I wanted them to be as high as his forehead. Haha!! Maybe this is why it's good to have the man in the home help out? But, he knew what to do. Marked, measured, and cut, the 4x4's were nailed into place with the same methodical action - drill, nail, hammer. 


The last piece of the stand was to use the 2x8 board for both the banner and the bar top. The board was actually perfect in size. We measured it first to be the banner. The remaining wood fit perfectly as the bar top. The only thing to do with the bar top was to cut out knotches to help it secure and wrap around the 4x4 posts. Eric measured this with his speed square. As you can tell...I don't measure very well. Not even in cooking. I am a true southern woman, after all! Haha! Then back to our rhythm: drill, nail, hammer. 

The structure is made.

Rinse off the wood well from any sanding, let it dry, then stain or paint as desired! 

Then, GO PLAY!! 


Friday, August 14, 2020

Rare Island Custom Home for Sale by Ellie Gladden


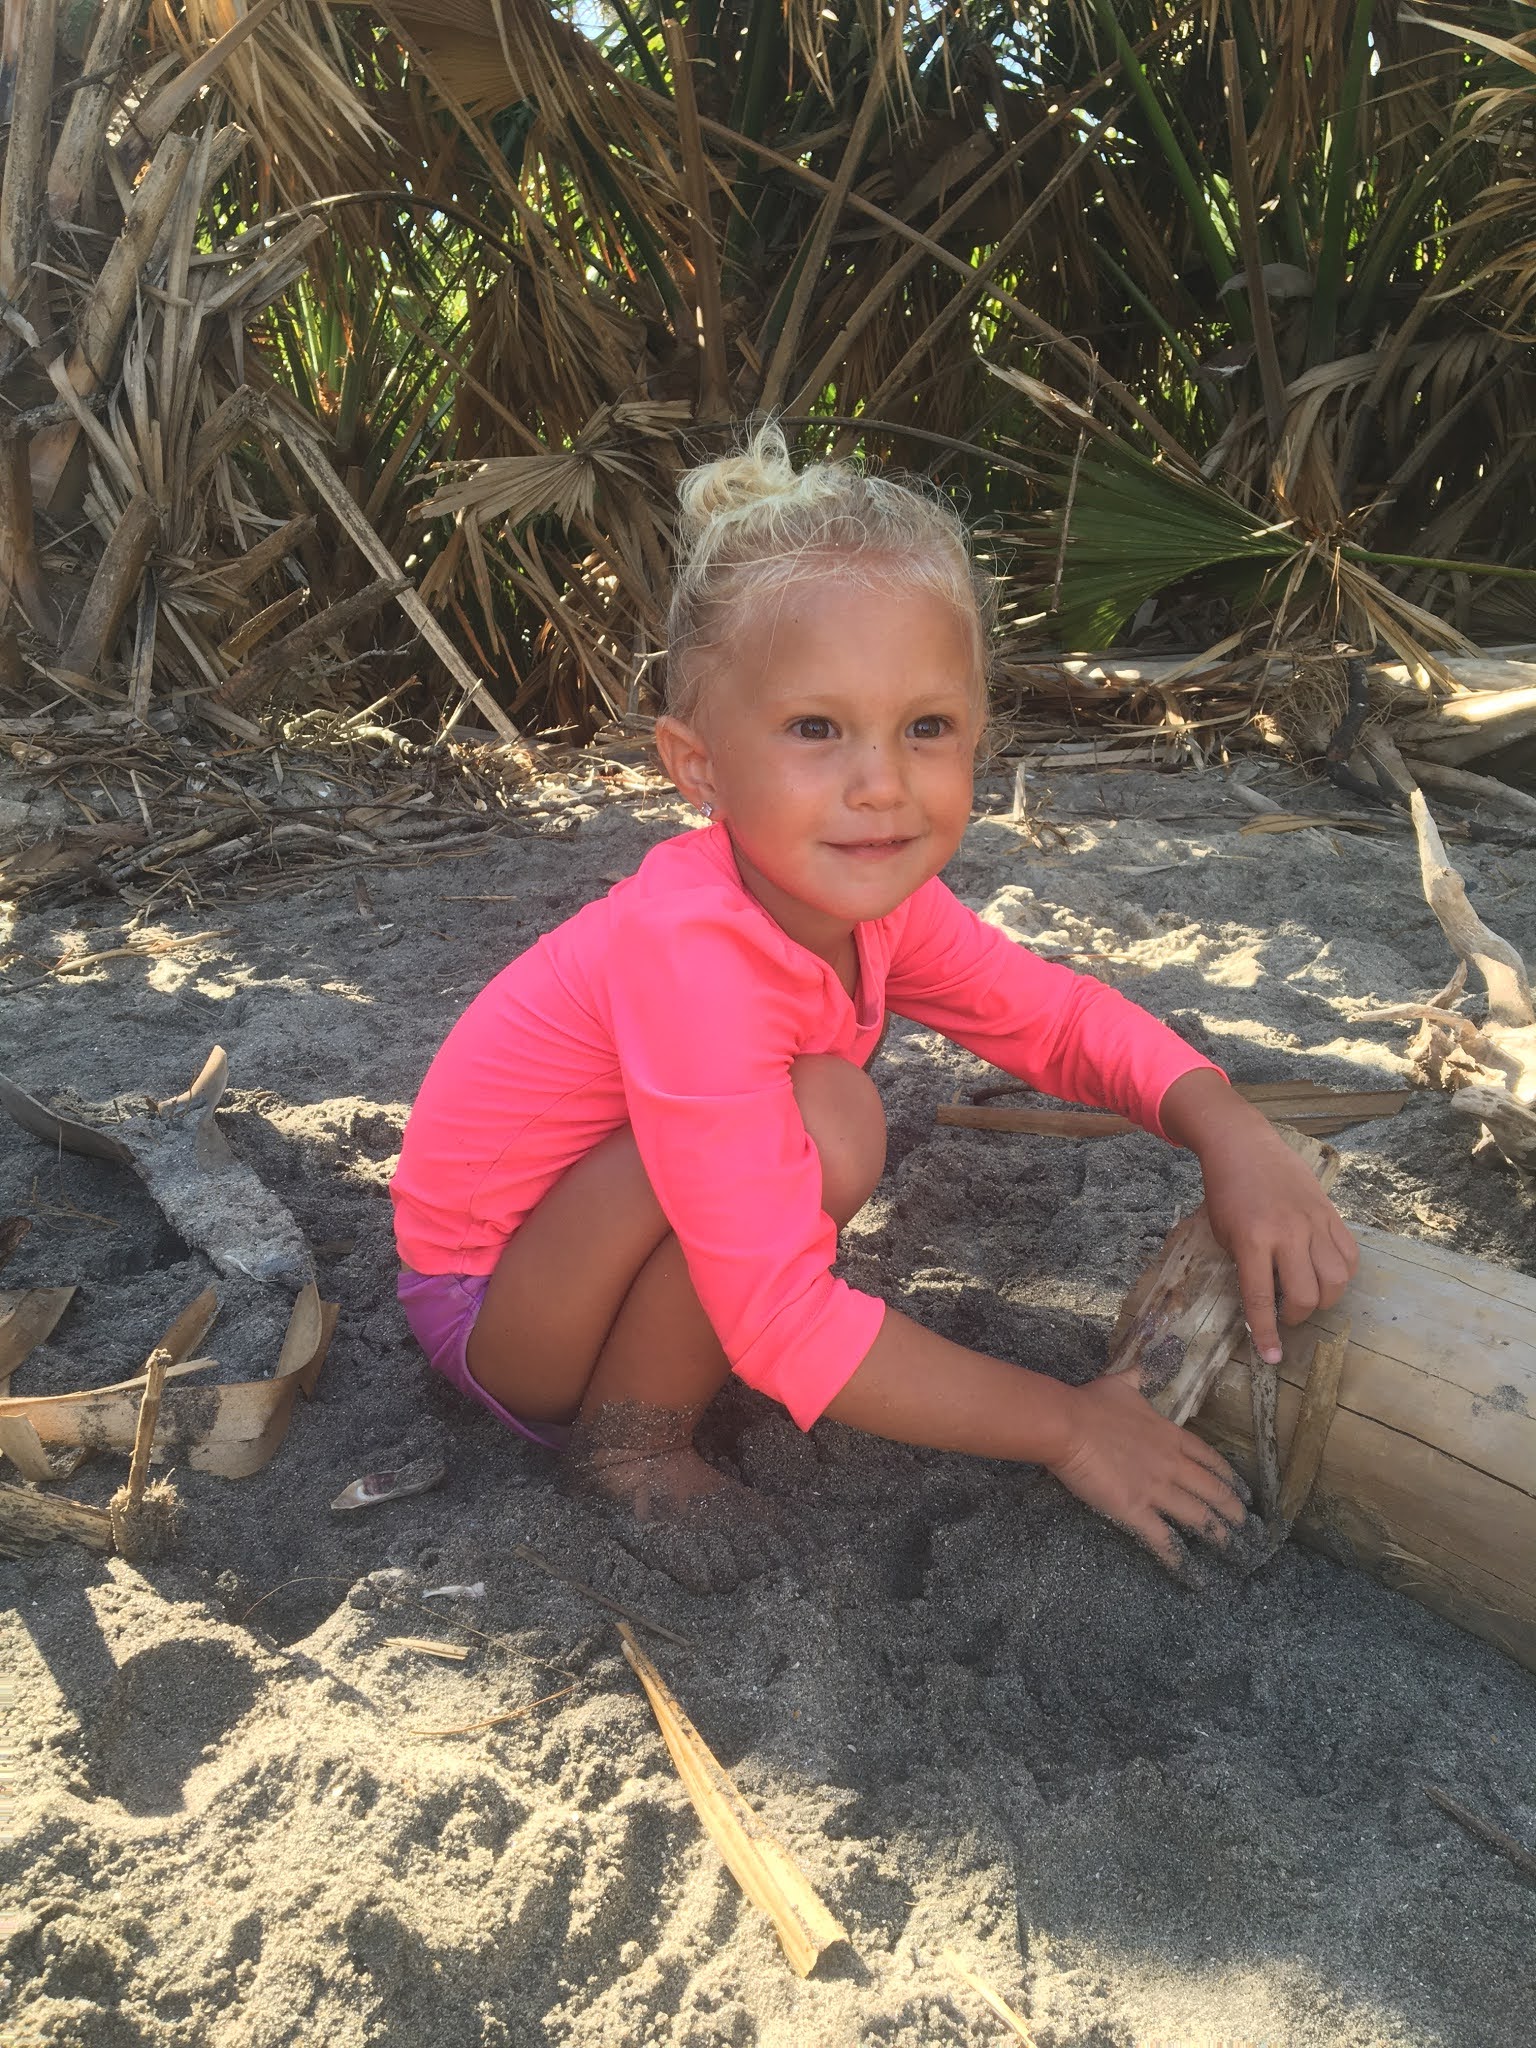
Today, I received the exclusive tour from architect and designer, Ellie Gladden. On the beautiful natural beach of Botany Bay on Edisto Island, SC, this talented young lady built a fine home and allowed me to interview her and give y’all and inside exclusive first look! Let’s have at it!

Firmly built upon a fine palm tree base with driftwood and palm fronds, this magnificent island getaway has all you need, and all you want. Featuring a beach front ocean front view and even a guest house out back, this house will be the perfect home for any lucky family. 


We begin our tour on the beach looking upon the beautiful home and front lawn. 


Next, Architect Ellie told me where to find the bedroom and bathroom. There she had already laid out pajamas and a potty as she disclosed to me. I must say, the potty was a lovely touch. Do look upon it here:


Next, we see the lovely dining room that comes fully furnished with custom table and chairs. As Ellie told me, one chair was a baby chair and one was big for a daddy. How perfectly equipped for a family!


Ellie was kind enough to pause her tour and feed me a delightful meal she prepared of “biscuits and syrup.” As it turns out, architecture and design are not where her talents end! I thoroughly enjoyed my meal at this fine dining room and table. 


As we continued our tour, I was shown a custom built dog house for any furry family member. 

The home also features a lovely custom master closet. As you can see pictured here, Ellie has her puddle jumper hanging up on one of the fabulous rungs. 

Ellie later led me to a secret passageway with a ladder that led to secret upstairs quarters! She even let me venture up top but did not allow me to linger too long before requesting I return back down the ladder. 

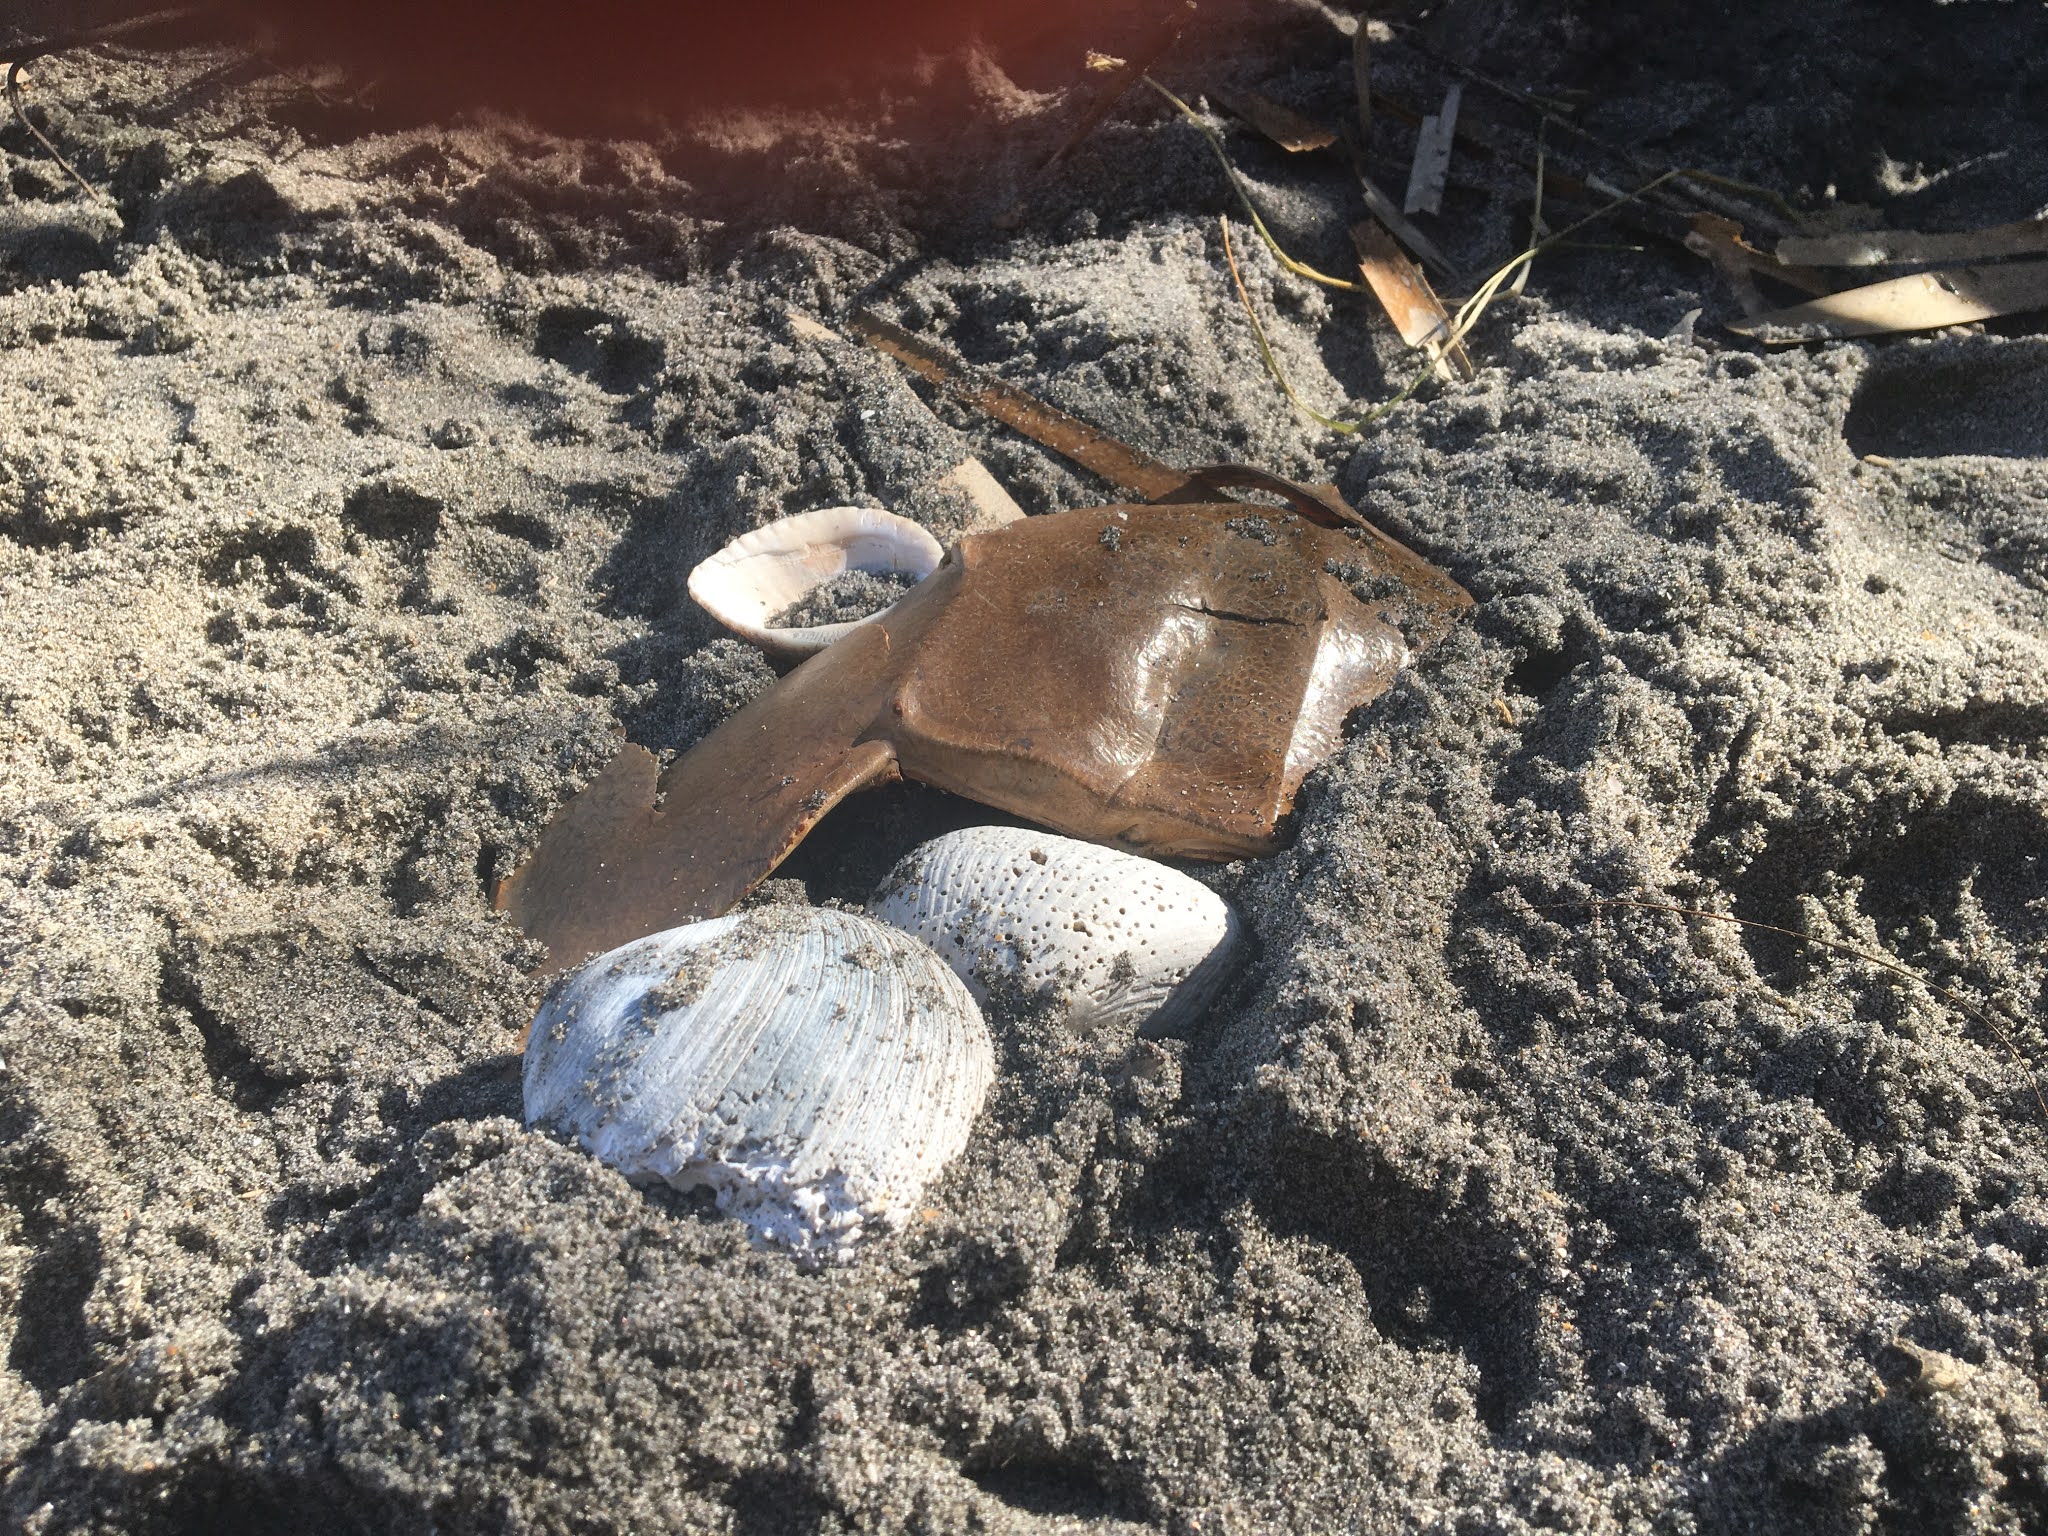
Ellie decorated the home with various seashells. She has such a way with design. 


It was SOOOO much fun building this tent/campground/house as she called it as a family today. It was actually very cozy. Ellie talked for an hour about her creations and kept very busy organizing, planning, and creating. It was so fun to be a part of her big imagination and to follow her whims and ideas for her creation. Kids really do not need toys to stay entertained! It’s incredible! Special afternoon! 


Wednesday, August 5, 2020

3 Ingredient Fig Jam


Fig Jam:

*Figs - ripe, 4-5 handfuls per jar. Sorry....I am a true southern woman and have no measurements here...I just follow my heart, haha!

*3 Tbsp honey (raw and local)

*1 Tbsp chia seeds

1. In a bowl with a potato masher, “squish” as my daughter says, all your figs up as much as possible.

2. Add your other ingredients and stir.

3. Pour into a saucepan on low heat and stir occasionally.

4. When the mixture begins to bubble a bit, turn off heat and pour into your jars. I used old glass jars with leur locking lids. This recipe made exactly one jar for me. 

Enjoy!! 


Cypress Gardens

  For a few years I have wanted to go with Eric to the Cypress Gardens in Moncks Corner to do a self guided boat ride. This place is known f...